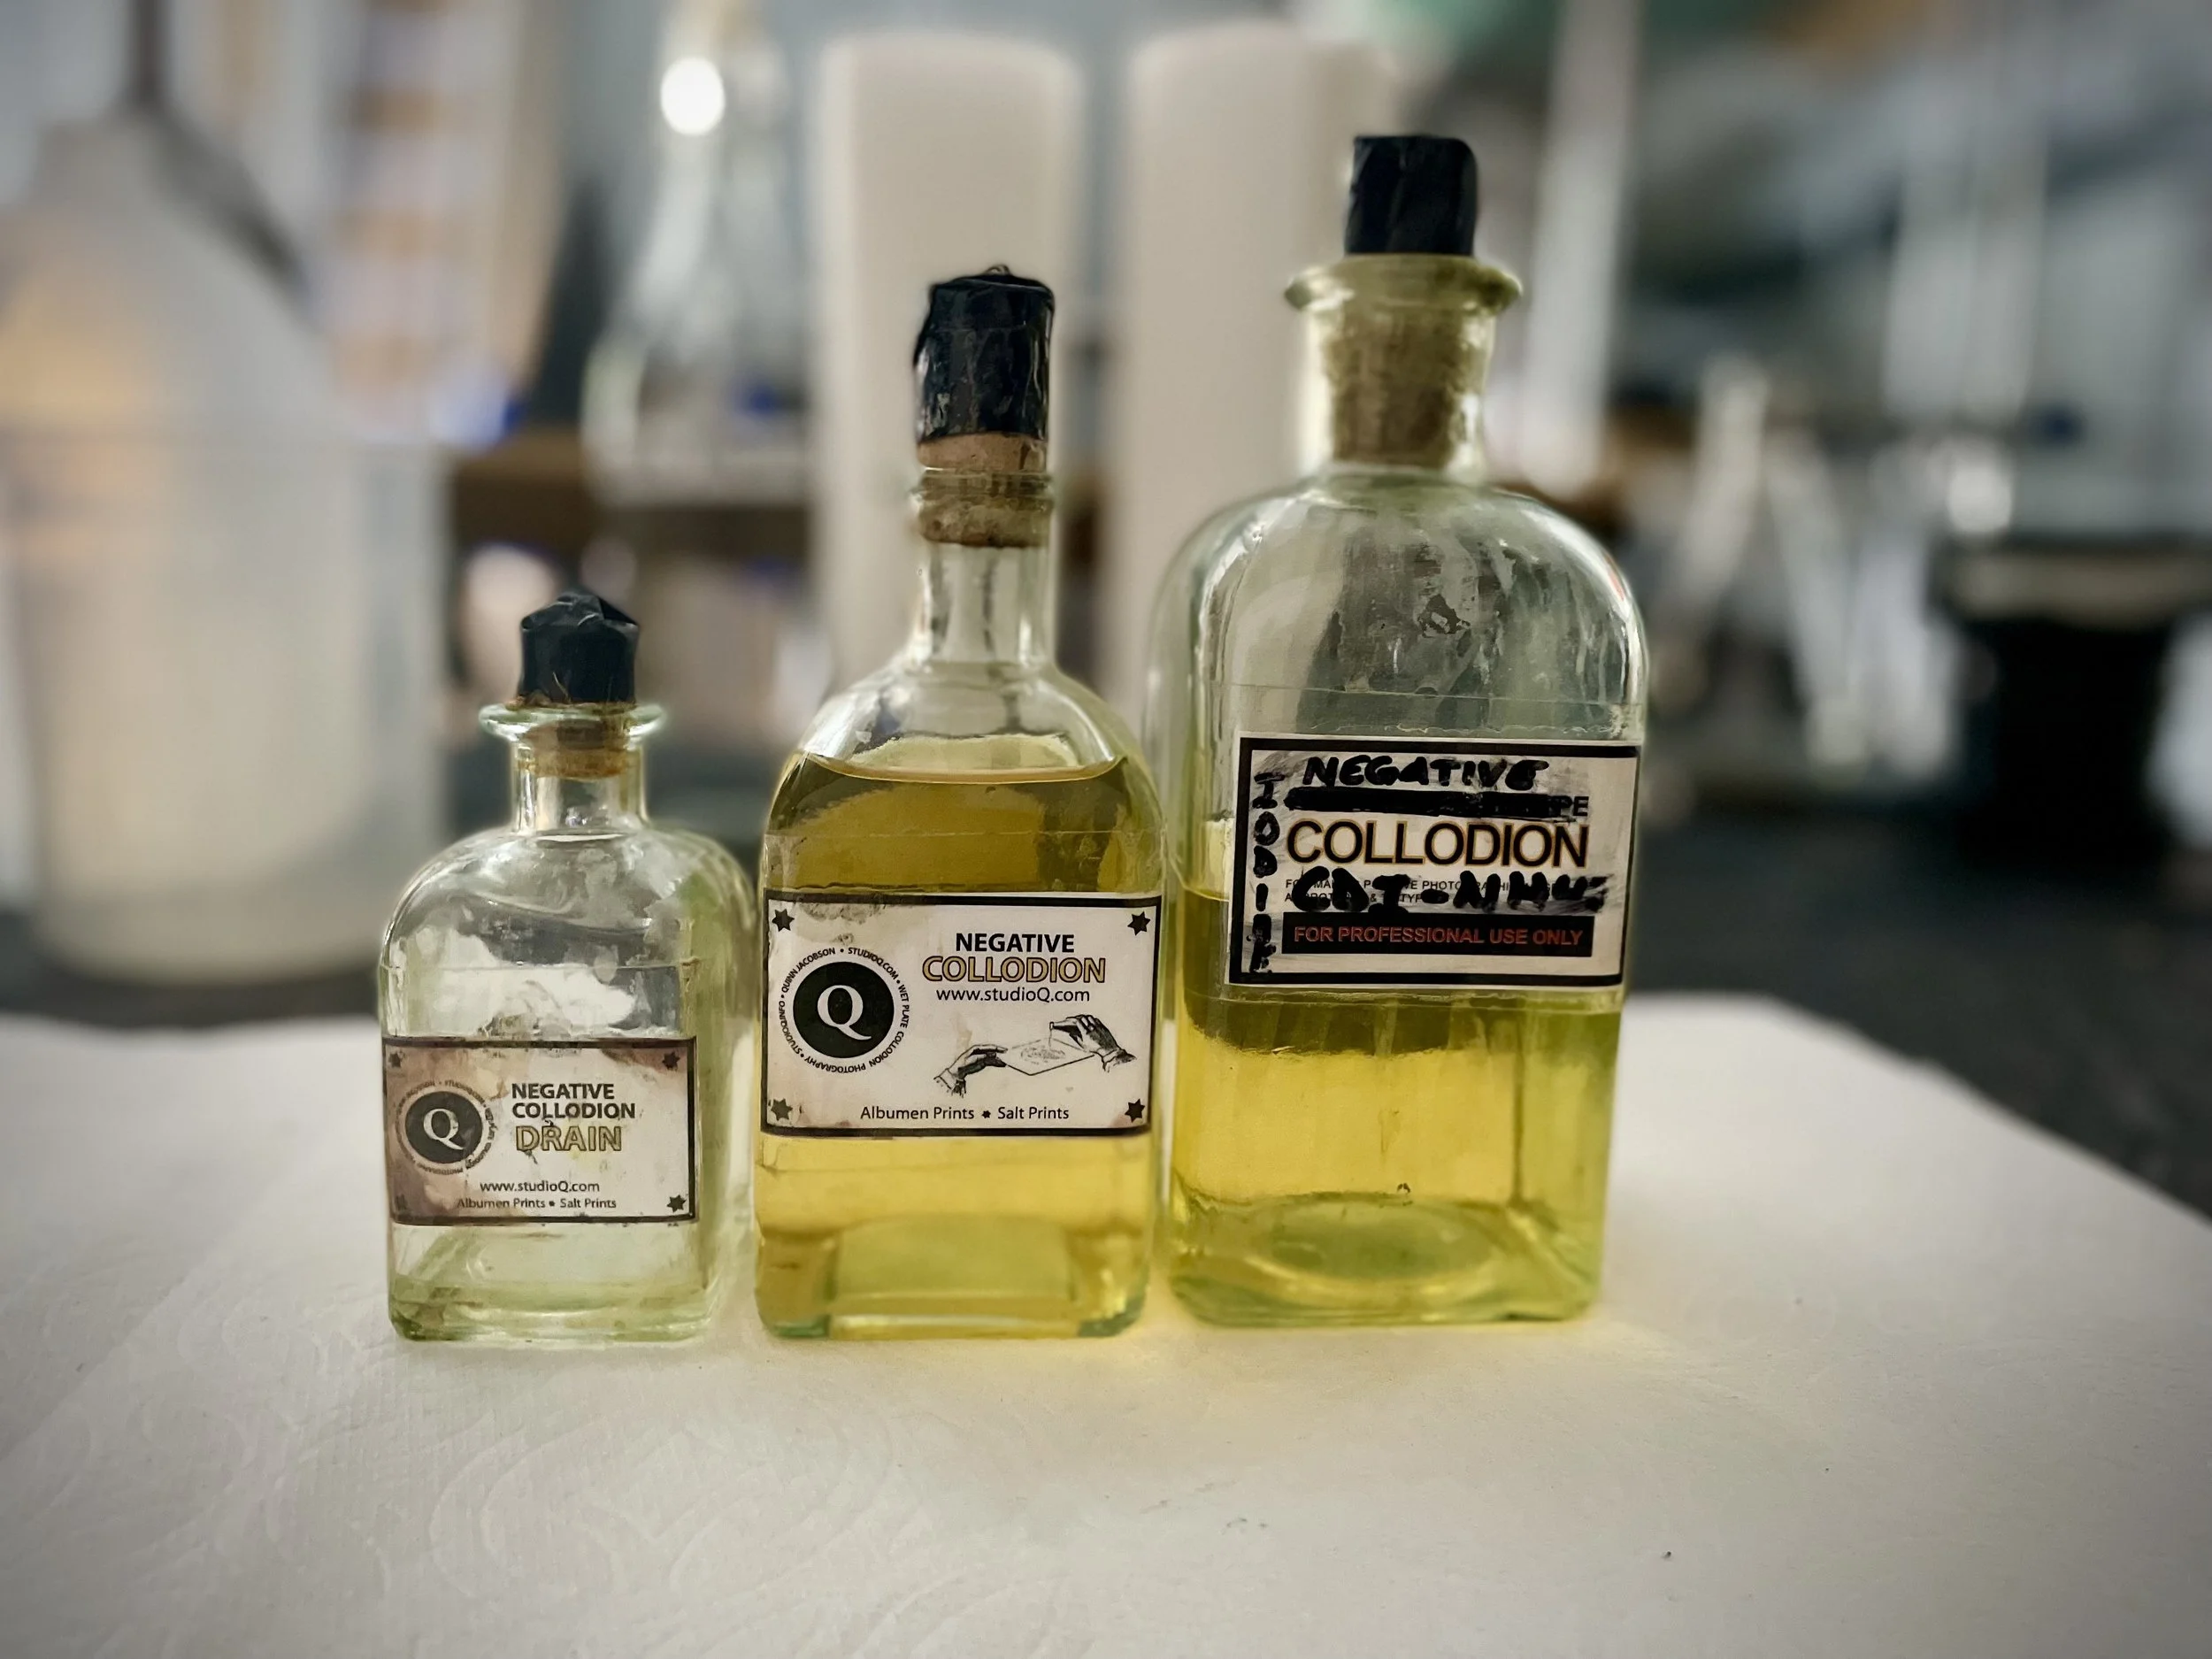
Wet Collodion Negatives and Salt Prints

For the last few days, I’ve been working on making negatives and today I had the chance to run some test Salt prints from those negatives.

I can say that I have the chemistry worked out - I’m confident about making negatives with both detail and density. It’s a fine line and there are a lot of details. Over the coming weeks, I’ll be sharing some of those details as I start my project.

Tests On Making Negatives: A New Approach

I spent a few hours today preparing and making a couple of negatives. I’m going to use this space as my “photographic journal”. I’m also keeping the exact details in written form. This will go away someday and the paper and ink will be around a bit longer.

My first goal was to use a “highly iodized” collodion. It’s made with CdI and NH4I. This reference comes from Thomas Sutton’s book. I ended up modifying this idea a little bit today. This is what I did:

I added 50% of the “highly iodized collodion” with some “soft negative collodion” (it contains a bromide). I developed with ferrous sulfate and DID NOT redevelop. These are foundation negatives. I laid them on my light board and photographed them; that’s it.

Here are some specifics for reference:

  1. Plates are Whole Plate (6.5” x 8.5”) 16.5 x 20.3 cm

  2. They were made with a Dallmeyer 3B lens and f/5.6 stop (290mm)

  3. They were made on December 1, 2021, at 1130 hrs MST and 1210 hrs MST

  4. Exposures were 3 seconds (Aspen Tree) and 1.5 seconds (Dead Tree) - the UV up here is extreme! I can only imagine in the summertime. I’ve ordered a set of Waterhouse Stops from Markus H in Austria. I will definitely need them up here.

  5. The temperature was 65F (18C) and RH was 20%

  6. They were sensitized for 4 minutes in the silver bath and developed for 40 seconds with a 4% Ferrous Sulfate developer.

  7. The silver bath was too cold: 40F (4C) that caused problems with sensitizing the plates.

  8. Both plates were FULLY albumenized.

This plate turned out okay. Again, these are foundation negatives, no redevelopment of intensification.

Detail of the Dead Tree plate.

It was 65F (18C) today and 20% RH. This plate dried so quickly after pouring I lost the left side of it. I think the extra ether played a role too.

The detail of the Aspen Tree. I will keep photographing this scene in different light until I have a perfect negative.

Inverted negative.

Inverted negative.

Inverted negative.

Inverted negative.

Special Glass, Silver Baths, and Collodion For Negatives

I’m Very Grateful and My Goals

I’m so grateful for this space and to have the time to work here. I just want to make that public. I’m very fortunate and I know it! I’m looking forward to working full time on my projects, experiments, and really doing a deep dive on Wet Collodion Negatives. My goal is to explore several different POP processes with my “evolving” negative-making process.

What Did I Do Today?

I prepared 12 pieces of glass; Whole Plate (8.5” x 6.5”) size. I also made 500 ml of Collodion for making Wet Collodion Negatives. This is a HIGHLY iodized collodion. Sutton talks about it in his book that I did a series of videos on. If you are interested, you can find them here. I sunned and cleaned my silver baths (#1 and #4). I have four different baths at any given time. They are always in rotation for maintenance. I usually carry at least two into the field. I have one adjusted for positives and one for making negatives.

Highly iodized collodion for making negatives.

One bath for making positives and one bath for making negatives.

Clean glass ready to albumenize.

Also, I have some special glass for plate making. Not special in one sense, it’s soda-lime glass. And it’s the most common form of glass produced. It’s composed of about 70 percent silica (silicon dioxide), 15 percent soda (sodium oxide), and 9 percent lime (calcium oxide), with much smaller amounts of various other compounds. It’s special because it’s 1.25mm thick and is notched (I place it in the “top right” position). Those are kind of special attributes, especially for me making wet collodion negatives. It’s incredibly strong too. The notch always lets me know which side is the collodionized side.

Wednesday and Thursday: Plate Making Days

This Wednesday and Thursday, I’ll make some test plates in my new space. Not a big deal for most, but for me, it’s been almost two years since I’ve been able to do this. I was busy building the house and getting all of the infrastructures in so we can live here. I also had to build the studio/darkroom building and then build out the darkroom. A lot of work, a lot of time and a lot of money! All worth every minute and every dime.

Tape, Mud, Sand and Paint

That’s all there is left to do now! It might be one more week, if the weather holds.

Fitting trim - the only things left are taping, mudding, sanding and painting. We see the finish line!

Progress With the Darkroom Build

Jeanne and I work on this every day for a few hours. We have other things to do, so we take small steps every day and it’s working out great. The weather here is wonderful. Today, it was sunny, calm and 65F (18C) and tomorrow will be sunny calm, and 68F (20C). The secret of Colorado is this wonderful weather! At this altitude, you’d think we’d be freezing cold day and night in November. Not at all.

A few more sheets of sheetrock that need to be put up and I’ll do the drains/plumbing for the sinks, then it’s mudding and taping and finally painting. We see the finish line!! So excited!!

Looking at the outside of the room, ready for drywall.

In progress drywall work.

In progress drywall work.