History
Jean Marie Taupenot, a Frenchman, (1824-1856) was a professor of chemistry and physics in the Prytanee Military Academy at La Fleche (Dept. of Sarthe). Taupenot published his collodio-albumen process at the end of 1855 and exhibited the first specimens of his work, which attracted attention and admiration on account of the fine quality of the image obtained; other examples of his process were exhibited at the London Exposition of 1862 as objects of interest. Taupenot's process met with immediate favor as early as 1855; it placed in the hands of experienced photographers a practical method for obtaining good results and simplified outdoor photography, although, of course, it was necessary to give longer exposures than with wet collodion plates (often several minutes). For instance, the Frenchman A. Ferrier made a notable series of views of the Swiss lakes in 1857. In England, James Mudd, Joseph Sidebotham, and others worked this collodio-albumen dry process with great success (1860-1870). Joseph Sidebotham released his version of the process in 1861 and it became the dominant way to work until James Mudd released a newer version in 1866. (History of Photography: Josef Maria Eder)
COLLODIO-ALBUMEN PROCESS - DRY PLATE
by JOSEPH SIDEBOTHAM, 1861. Manchester, England.
STEP ONE: PREPARING THE PLATE: COLLODION AND THE ALBUMEN SOLUTION
Flow a glass plate with Collodion. J. Mudd recommends an IODIZED ONLY collodion - KI and CdI. I’m using a bromo-iodized collodion that I make wet collodion negatives from. This is a variation on Thomas Sutton’s recipe - half method #1 and the other half method #2.
Sensitize the plate for 3 - 5 minutes in an 8% - 9% AgNO3 bath.
Wash it well in a bath of distilled water - wash all of the free silver from the plate. This is critical; there must be no rivulets when pouring water over the plate.
Drain the DH2O for 30 seconds.
Flow the Albumen Solution over the plate four times, pouring off at each corner (save the Albumen into another container and use again). You cannot do this too many times. Make sure that the solution has penetrated, or washed off, the water (leftover from the bath wash).
Store the plate in a clean, warm area to dry. The plate will store for months, or really indefinite in this state. It is NOT light sensitive at this point.
STEP TWO: RENDERING THE PLATE SENSITIVE: ACETO-NITRATE BATH SOLUTION
Immerse the plate into the Aceto-Nitrate Bath Solution for 30 - 60 seconds.
Wash the plate very well in DH2O as in the previous step.
Set up in a warm, dark area to dry.
After the plate is dry, it can be placed in a holder and is ready for use. The plate will be good in hot weather for 7 - 10 days.
STEP THREE: EXPOSURE
Like any of these processes, light, optics (aperture), scene, and climate will determine exposure time. A "general" rule is that a bright day of a landscape scene with a medium stop (f/11) will require 3 - 10 minutes. In my situation, the altitude I’m at will shorten exposures quite a bit. I’ll be exposing 2 - 5 minutes at f/16 or f/22. These will be fully illuminated landscapes at 8,500 - 10,000 feet above sea level (2.590 - 3.050m).
STEP FOUR: DEVELOPING THE IMAGE: PYROGALLIC DEVELOPING SOLUTION
Remove the plate from the holder and place it in a tray of DH2O for 30 seconds.
Remove from the water tray and pour on some of the Pyro Developing Solution; pour this off and on once or twice, and then allow it to remain on the plate for a few minutes; then pour it off, and mix with it three or four drops of the Silver Developing Solution, and pour it on and off again several times; the image will now appear, and keep gaining intensity until finished.
Should the development be very slow, a little more of the Silver Developing Solution should be added; but as little silver should be used as possible, as it is apt to decompose the pyrogallic solution, and turn it black when it must be thrown away, and the plate washed before the fresh solution is used. As in the collodion process, an underdeveloped negative has the lights and shades in too great contrast, one over-exposed has too little; much may be done in the development to remedy this. Pyrogallic acid develops the image, nitrate of silver intensifies it.
STEP FIVE: FIX AND WASH THE PLATE
After development, place the plate into a tray, or tank, of "Hypo" and clear the image - this will take from 2 - 5 minutes.
Wash the plate well after fixing and dry the plate.
STEP SIX: VARNISH THE PLATE
CHEMISTRY
I’ve increased these by x5 - except for the silver developing solution and fixer. You can adjust for what volume you want to make.
Albumen Solution
White of egg: 29.5 ml (1 oz.) - x 5 = ~148 ml (5 large egg whites, the fresher the better)
Distilled Water: 7.4 ml (¼ oz.) - x 5 = 37 ml
Liquid Ammonia: 0.6 ml (10 minims) - x 5 = 3 ml
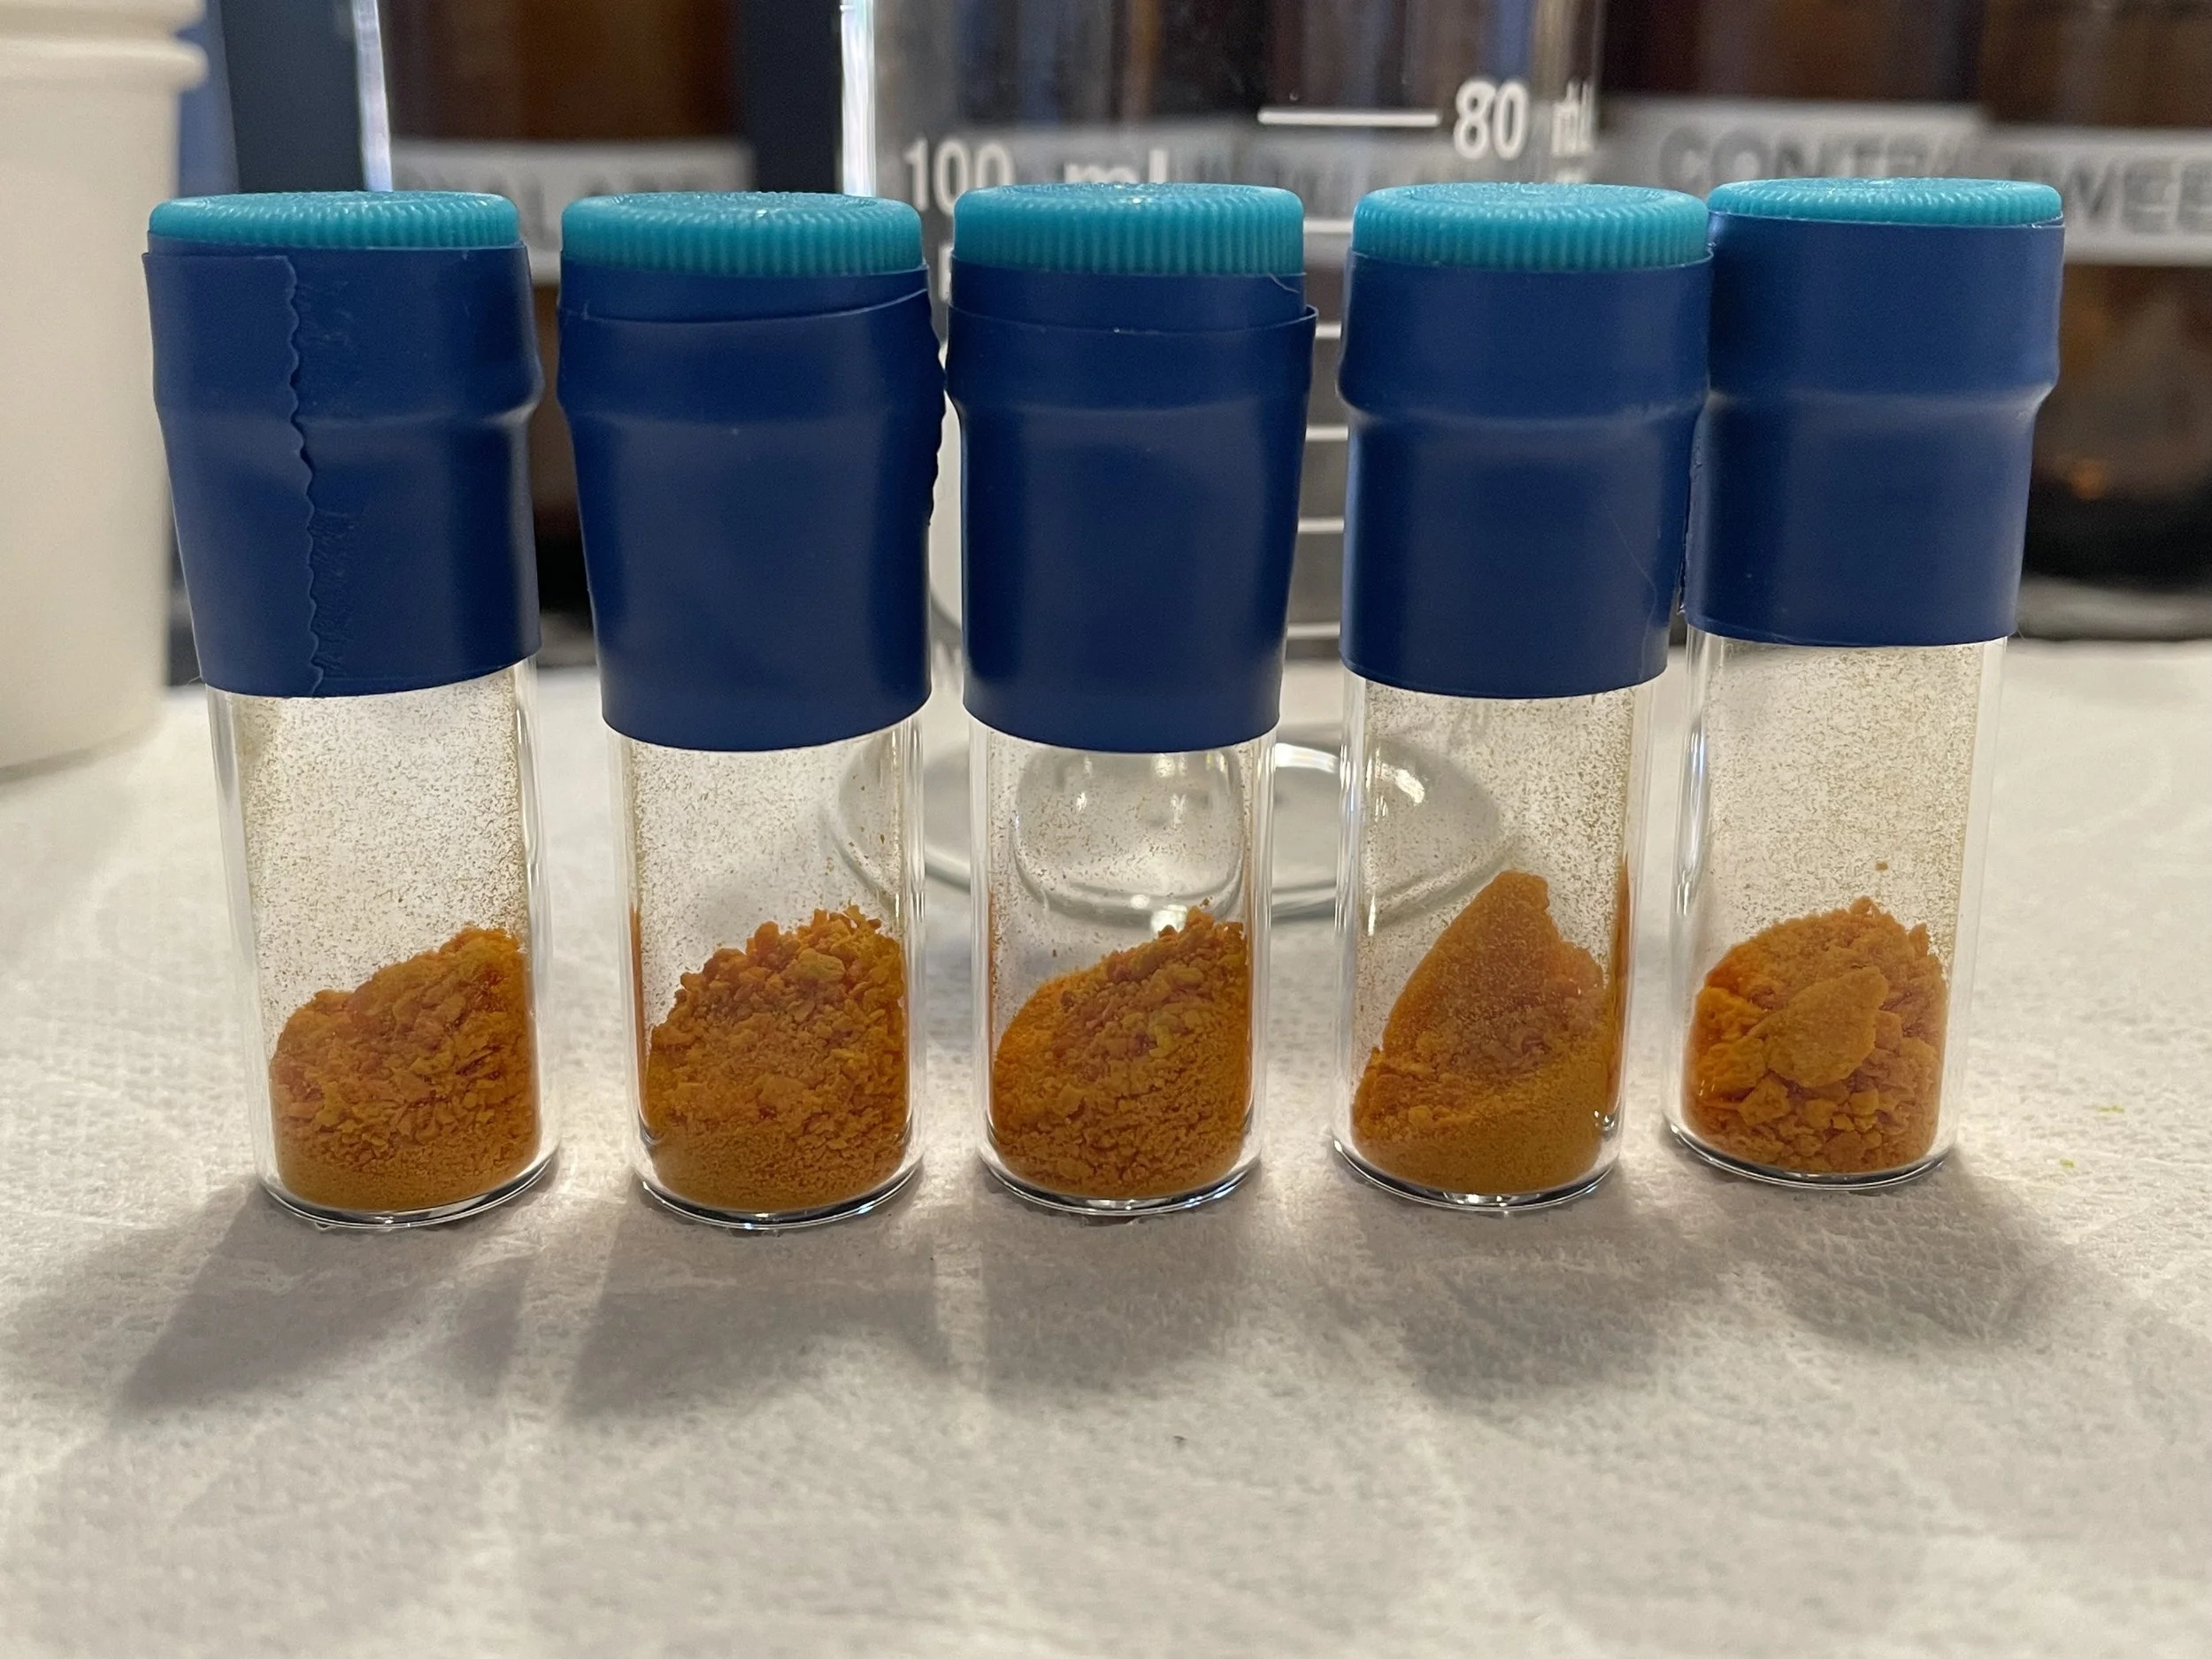
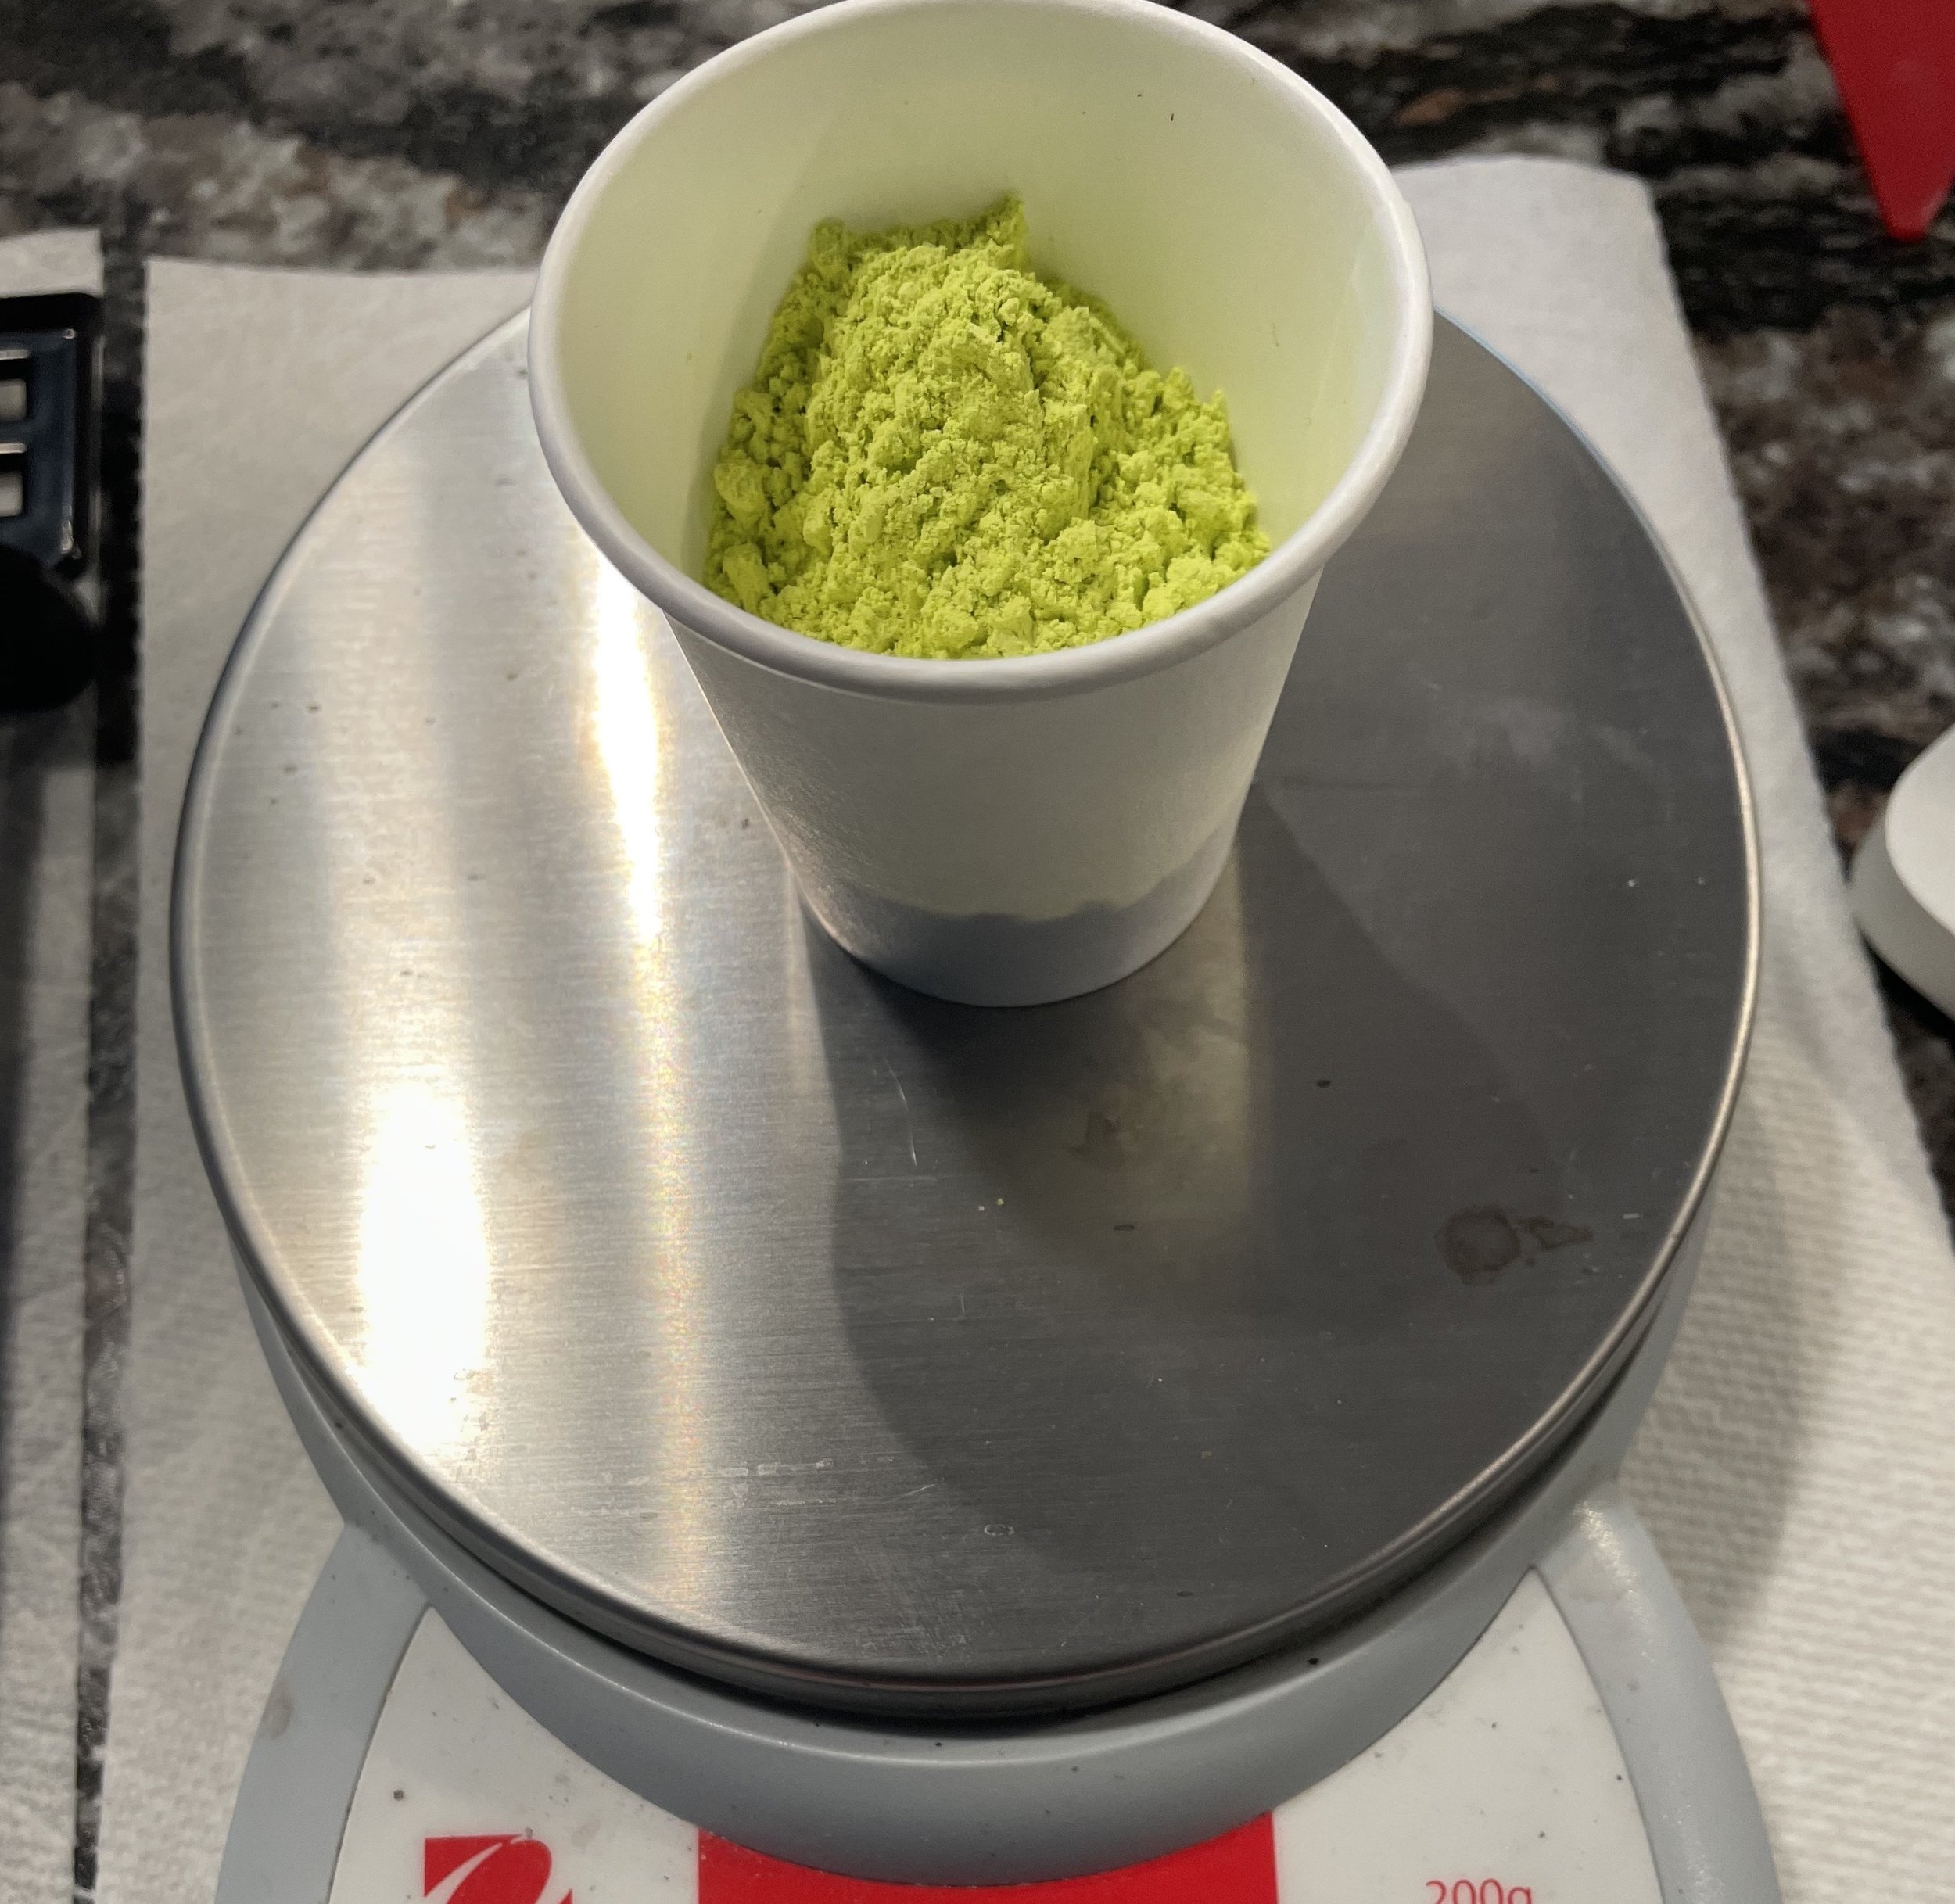
Iodide of potassium: 0.32 g (5 grains) - x 5 = 1.6 g
Bromide of potassium: 0.065 g (1 grain) - x 5 = 0.33 g
Tincture of iodine: 0.06 ml (1 minim) - x 5 = 0.3 ml
Beat up well together; allow to stand and filter. It will keep good many months.
Aceto-Nitrate Bath Solution
Distilled water - 29.5 ml -1 oz. - x 5 = 148 ml
Silver Nitrate - 40 grains - 2.6 g - x 5 = 13 g
Glacial acetic acid - 25 minims- 1.54 ml - x 5 = 7.25 ml
Pyrogallic Developing Solution
Distilled water - 29.5 ml -1 oz. - x 5 = 148 ml
Pyrogallic acid - 2 grains - 0.13 g - x 5 = 0.65 g
Citric acid - 1 grain - 0.065 g - x 5 = 0.33 g
(Filter if needed)
Silver Developing Solution
Distilled Water - 5 oz. - 148 ml
Silver Nitrate - 10 grains - 0.65 g
Fixing Solution
Distilled Water - 10 oz. - 295 ml
Sodium Thiosulfate (Hyposulphite of soda) - 5 oz. - 142 g


