

Pure Palladium Print
The tonal range in this print is mind-boggling! These negatives LOVE the printing process! Join me Saturday, January 8, 2022, at 1000 MST/1800 CET hrs for my Studio Q Show LIVE! I'll review what I've been doing and share some of these prints! I might even give some away! Do you like Platinum/Palladium Prints?

Sand Creek Massacre Site, Colorado - "No Trespassing" Ghost Dance Project- Pure Palladium Print - January 3, 2022. (2019 Wet Collodion Negative - 6" x 6"/15 x 15cm)

“Beer Bottle & Bullet Can” - photographed with my iPhone in the wash (in natural light). No adjustments. - Platinum Palladium Print from a 6” x 6” (15 x 15cm) Wet Collodion Negative - 2019
Wet Collodion Negatives & Platinum Palladium Prints

“Fox Jaw & Thistle” - photographed with my iPhone in the wash (in natural light). No adjustments. - Platinum Palladium Print from a 6” x 6” (15 x 15cm) Wet Collodion Negative - 2019
I worked on a project called, “Ghost Dance: Native American Massacres Site” for a few years. I finished in 2019. I was never satisfied with the POP prints from the work. It’s all 6” x 6” (15 x 15cm) wet collodion negatives. I’ve been wanting to print the work in Platinum Palladium for some time now and I did a few today. The results are amazing. This is a perfect match: Wet Collodion Negatives and Platinum Palladium Prints. Absolutely perfect. The range and depth in these are some of the deepest I’ve seen. I know the “iPhone images” don’t come close to doing them justice, but I wanted to share these.
Lessons Learned
I know most people working in Platinum Palladium print from digital negatives. The technical perspective is almost 180 degrees. I understand we are comparing apples and oranges taking about Wet Collodion Negatives and Digital Negatives. I have no experience with digital stuff. I can tell you though, the recommended density is very different when using a collodion negative. The contrast control is different, and the printing is different. I know this from talking to digital negative guys.
I used mostly Palladium with these prints; 12 drops Ferric Oxalate, 12 drops Palladium, 1 drop Platinum, and 2 drops of Tween 20. My developer was Potassium Oxalate at about 90F (33C) - I’ll warm it up next time and try for “warmer” tones, but I do love these. My exposures were 2:30 in the sun (high UV here). Developed for 1 minute, cleared in EDTA x2, and washed for 20 minutes. I used Hahnemühle Platinum Rag - I’ll try some Arches Platine next.
The negative is the most important component here. Platinum Palladium is simple compared to most historic printing processes. It’s by far the easiest. I know why it was called, “the King of prints” in the 19th and early 20th centuries. They are eye-cracking and mind-blowing to look at - they really are.
I’ll do a video (Studio Q Show LIVE!) soon on my thoughts, my negatives, my prints, and where I’m going with this. I may end up printing out my entire body of work from Ghost Dance with this process. It’s winter now and I’m not sure how much new work I'll get completed when it’s snowy and cold. We’ll see. When spring arrives, it will be full-time on the new work. Stay tuned!

“Cottonwood Tree - Eastern Plains of Colorado” - photographed with my iPhone in the wash (in natural light). No adjustments. - Platinum Palladium Print from a 6” x 6” (15 x 15cm) Wet Collodion Negative - 2019
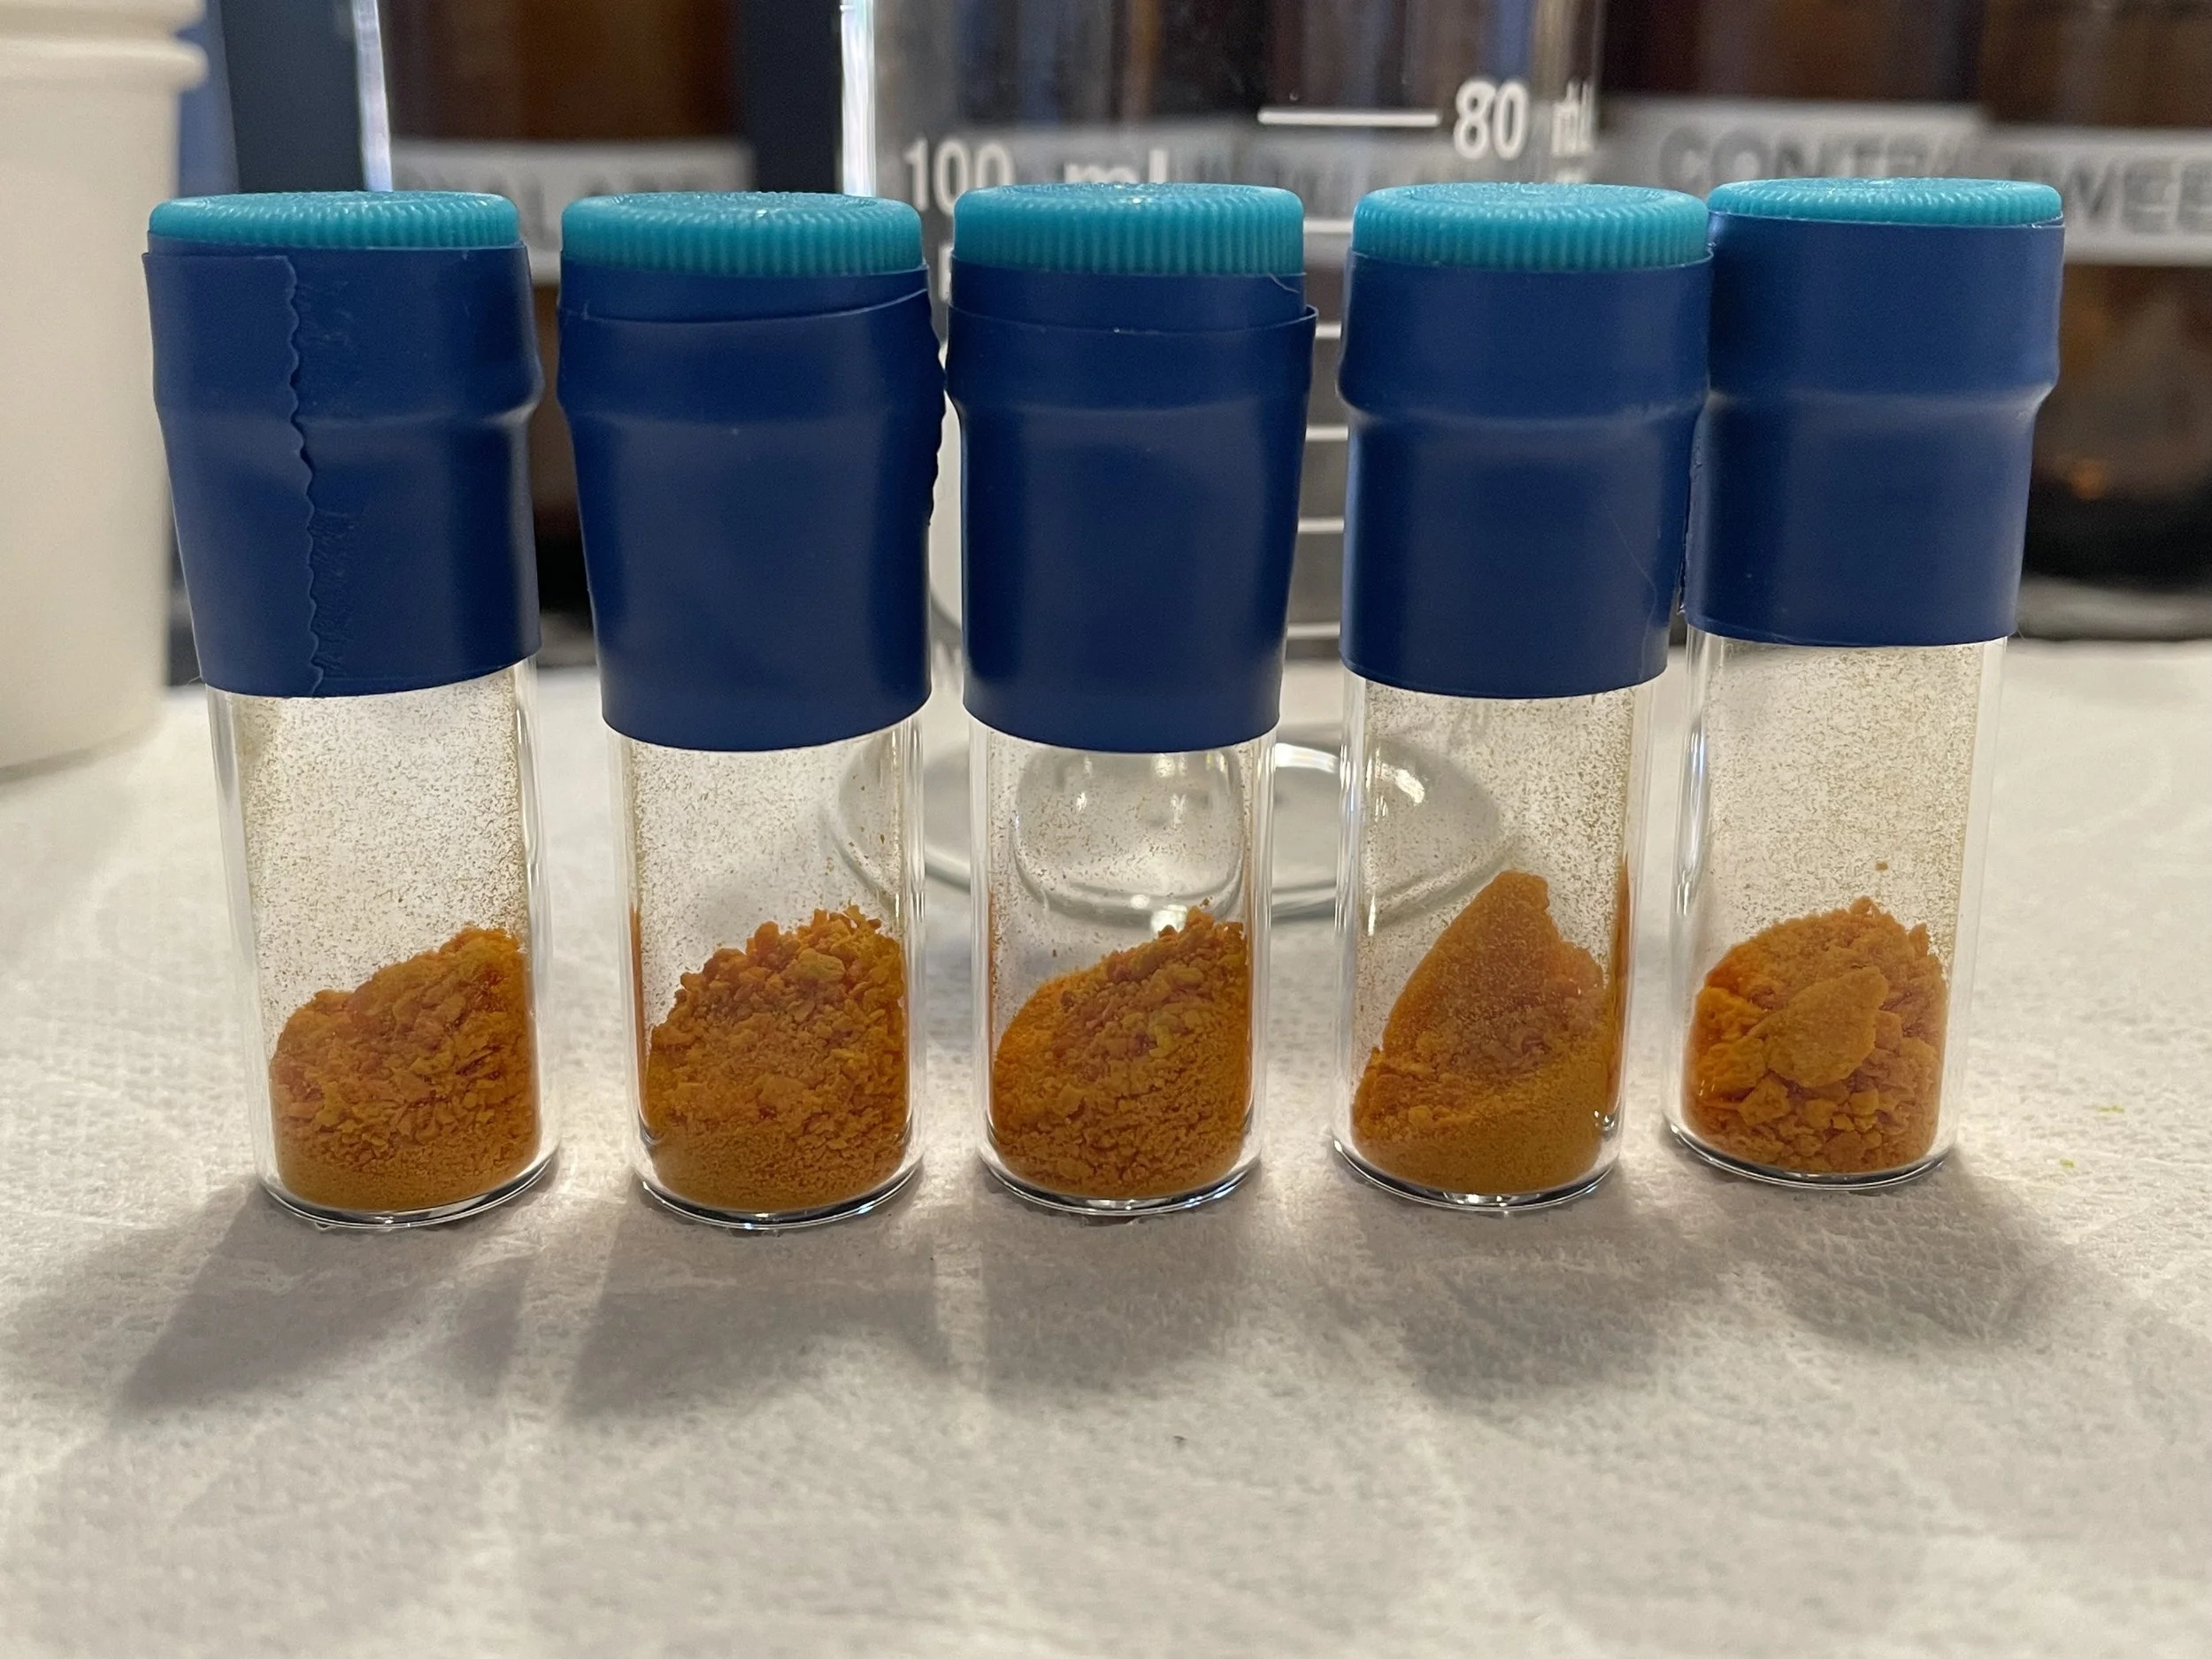
1 gram vials of Platinum.
Mixing Your Own Platinum Palladium Chemistry
A lot of people that follow me and read my blog or social media posts work in the Wet Collodion process. I’m amazed that so few working in Platinum Palladium don’t mix their own chemistry. It’s probably one of the easiest and simple things to do. The printing process is quite simple too. There’s no reason not to mix your own printing chemistry, especially if your working in, and mixing chemistry for Wet Collodion.
I made all of my chemistry today:
Ferric Oxalate: 55ml
Platinum: 25ml
Palladium: 50ml
Contrast Control: 30ml
Tween 20 (10%): 60ml
Hydrogen Peroxide (3%): 60ml
Potassium Oxalate: 1L (30%)
EDTA Clearing Bath: 1L (3%)

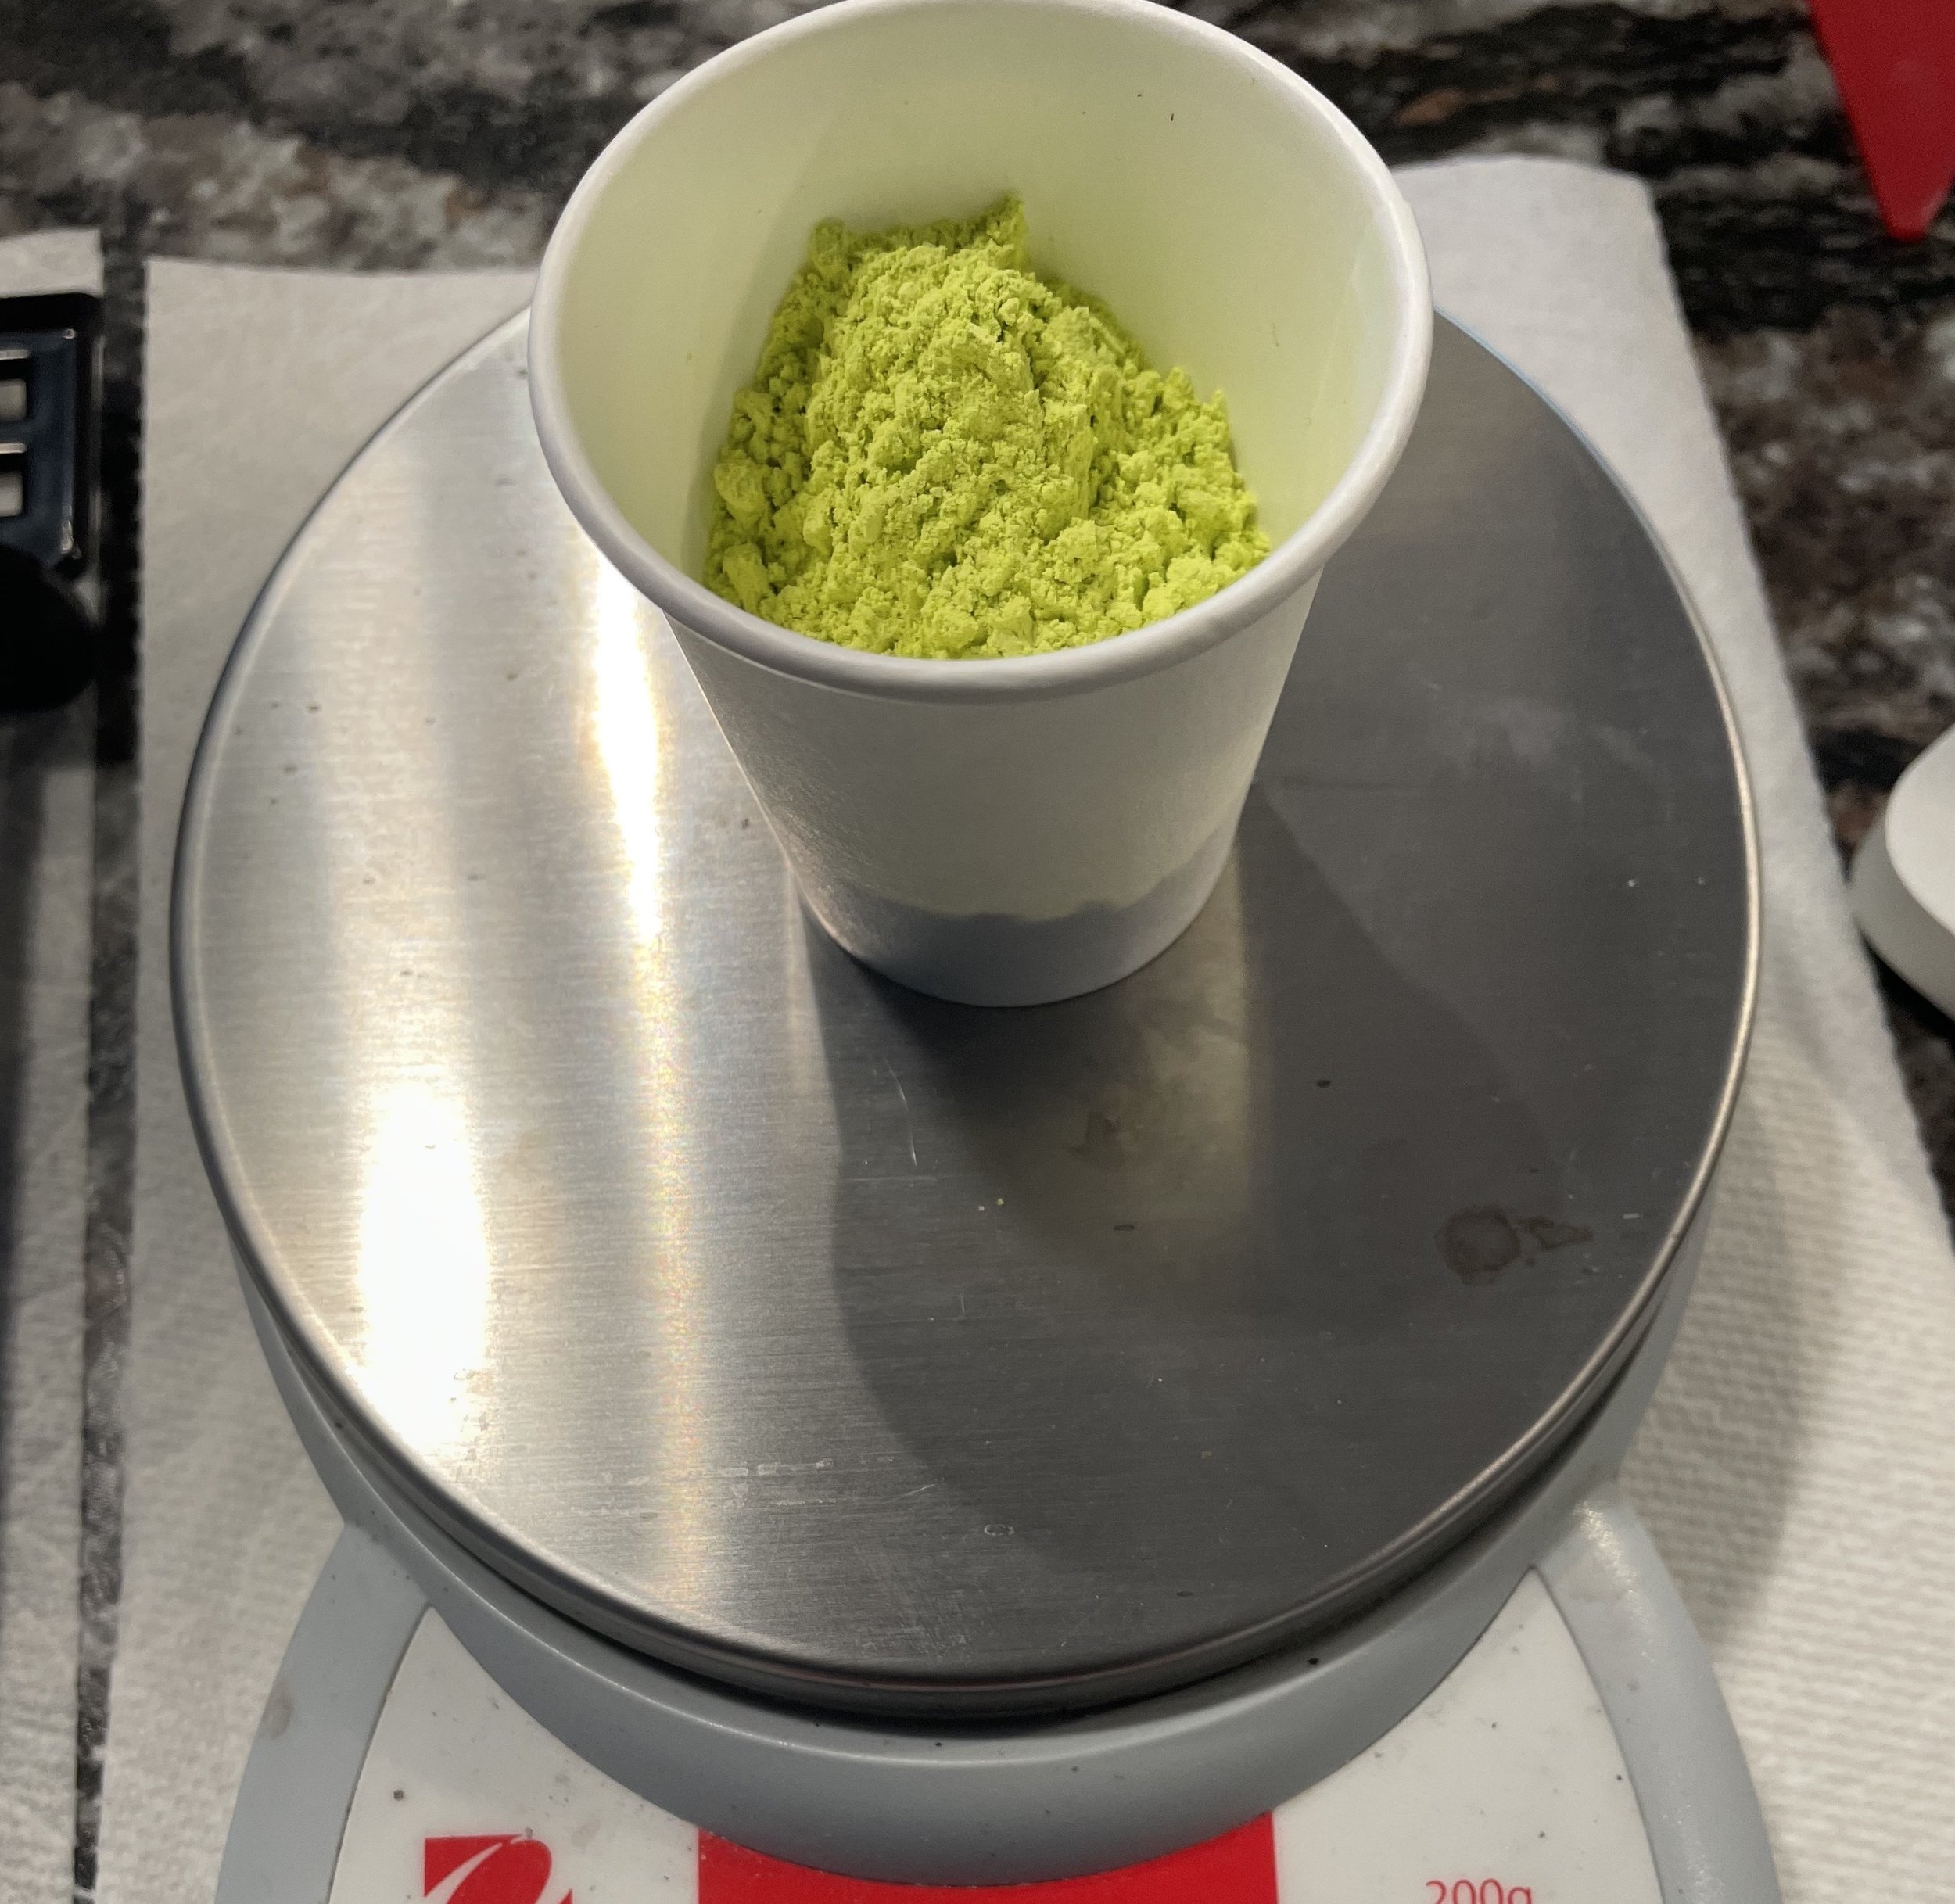
4.6 grams of Palladium and 3.2 grams of Kosher Coarse Salt - mixed in hot DH2O.

Getting setup - all of the equipment to quickly make up enough chemistry for many prints!

60ml Dropper Bottles for the “drop” chemistry.
Ferric Oxalate - the compound that triggers the platinum and palladium to reduce to pure metals.

The Collodio-Albumen Dry Plate Process: Recipes and Methodology
History
Jean Marie Taupenot, a Frenchman, (1824-1856) was a professor of chemistry and physics in the Prytanee Military Academy at La Fleche (Dept. of Sarthe). Taupenot published his collodio-albumen process at the end of 1855 and exhibited the first specimens of his work, which attracted attention and admiration on account of the fine quality of the image obtained; other examples of his process were exhibited at the London Exposition of 1862 as objects of interest. Taupenot's process met with immediate favor as early as 1855; it placed in the hands of experienced photographers a practical method for obtaining good results and simplified outdoor photography, although, of course, it was necessary to give longer exposures than with wet collodion plates (often several minutes). For instance, the Frenchman A. Ferrier made a notable series of views of the Swiss lakes in 1857. In England, James Mudd, Joseph Sidebotham, and others worked this collodio-albumen dry process with great success (1860-1870). Joseph Sidebotham released his version of the process in 1861 and it became the dominant way to work until James Mudd released a newer version in 1866. (History of Photography: Josef Maria Eder)
COLLODIO-ALBUMEN PROCESS - DRY PLATE
by JOSEPH SIDEBOTHAM, 1861. Manchester, England.
STEP ONE: PREPARING THE PLATE: COLLODION AND THE ALBUMEN SOLUTION
Flow a glass plate with Collodion. J. Mudd recommends an IODIZED ONLY collodion - KI and CdI. I’m using a bromo-iodized collodion that I make wet collodion negatives from. This is a variation on Thomas Sutton’s recipe - half method #1 and the other half method #2.
Sensitize the plate for 3 - 5 minutes in an 8% - 9% AgNO3 bath.
Wash it well in a bath of distilled water - wash all of the free silver from the plate. This is critical; there must be no rivulets when pouring water over the plate.
Drain the DH2O for 30 seconds.
Flow the Albumen Solution over the plate four times, pouring off at each corner (save the Albumen into another container and use again). You cannot do this too many times. Make sure that the solution has penetrated, or washed off, the water (leftover from the bath wash).
Store the plate in a clean, warm area to dry. The plate will store for months, or really indefinite in this state. It is NOT light sensitive at this point.
STEP TWO: RENDERING THE PLATE SENSITIVE: ACETO-NITRATE BATH SOLUTION
Immerse the plate into the Aceto-Nitrate Bath Solution for 30 - 60 seconds.
Wash the plate very well in DH2O as in the previous step.
Set up in a warm, dark area to dry.
After the plate is dry, it can be placed in a holder and is ready for use. The plate will be good in hot weather for 7 - 10 days.
STEP THREE: EXPOSURE
Like any of these processes, light, optics (aperture), scene, and climate will determine exposure time. A "general" rule is that a bright day of a landscape scene with a medium stop (f/11) will require 3 - 10 minutes. In my situation, the altitude I’m at will shorten exposures quite a bit. I’ll be exposing 2 - 5 minutes at f/16 or f/22. These will be fully illuminated landscapes at 8,500 - 10,000 feet above sea level (2.590 - 3.050m).
STEP FOUR: DEVELOPING THE IMAGE: PYROGALLIC DEVELOPING SOLUTION
Remove the plate from the holder and place it in a tray of DH2O for 30 seconds.
Remove from the water tray and pour on some of the Pyro Developing Solution; pour this off and on once or twice, and then allow it to remain on the plate for a few minutes; then pour it off, and mix with it three or four drops of the Silver Developing Solution, and pour it on and off again several times; the image will now appear, and keep gaining intensity until finished.
Should the development be very slow, a little more of the Silver Developing Solution should be added; but as little silver should be used as possible, as it is apt to decompose the pyrogallic solution, and turn it black when it must be thrown away, and the plate washed before the fresh solution is used. As in the collodion process, an underdeveloped negative has the lights and shades in too great contrast, one over-exposed has too little; much may be done in the development to remedy this. Pyrogallic acid develops the image, nitrate of silver intensifies it.
STEP FIVE: FIX AND WASH THE PLATE
After development, place the plate into a tray, or tank, of "Hypo" and clear the image - this will take from 2 - 5 minutes.
Wash the plate well after fixing and dry the plate.
STEP SIX: VARNISH THE PLATE
The old literature says that a shellac varnish (French Varnish) is preferred, but traditional sandarac varnish will work fine.
CHEMISTRY
I’ve increased these by x5 - except for the silver developing solution and fixer. You can adjust for what volume you want to make.
Albumen Solution
White of egg: 29.5 ml (1 oz.) - x 5 = ~148 ml (5 large egg whites, the fresher the better)
Distilled Water: 7.4 ml (¼ oz.) - x 5 = 37 ml
Liquid Ammonia: 0.6 ml (10 minims) - x 5 = 3 ml
Iodide of potassium: 0.32 g (5 grains) - x 5 = 1.6 g
Bromide of potassium: 0.065 g (1 grain) - x 5 = 0.33 g
Tincture of iodine: 0.06 ml (1 minim) - x 5 = 0.3 ml
Beat up well together; allow to stand and filter. It will keep good many months.
Aceto-Nitrate Bath Solution
Distilled water - 29.5 ml -1 oz. - x 5 = 148 ml
Silver Nitrate - 40 grains - 2.6 g - x 5 = 13 g
Glacial acetic acid - 25 minims- 1.54 ml - x 5 = 7.25 ml
Pyrogallic Developing Solution
Distilled water - 29.5 ml -1 oz. - x 5 = 148 ml
Pyrogallic acid - 2 grains - 0.13 g - x 5 = 0.65 g
Citric acid - 1 grain - 0.065 g - x 5 = 0.33 g
(Filter if needed)
Silver Developing Solution
Distilled Water - 5 oz. - 148 ml
Silver Nitrate - 10 grains - 0.65 g
Fixing Solution
Distilled Water - 10 oz. - 295 ml
Sodium Thiosulfate (Hyposulphite of soda) - 5 oz. - 142 g

These are the three stops that I’ll use mostly - gives that super sharp image and deep/long depth of field.
Waterhouse Stops, What's the Big Deal?
What are “Waterhouse stops”? Waterhouse stops were common in the "brass barrel" era of camera lenses, and are named after British astronomer John Waterhouse. In the late 1850s, Waterhouse invented a system using plates with different aperture diameters that could be inserted into a slot in the lens barrel.
I recently hired Markus Hofstaetter, in Austria, to create a set of stops for me for one of my lenses. He’s a great guy and does great work. I highly recommend him if you need work like this done. Check out his website - www.markus-hofstaetter.at.

Items from Markus’ package. The stops have a little red case too!
For this project, I’m using (mostly) my Dallmeyer 3B lens (290mm ~f/4). It’s from the 1870s and uses Waterhouse stops. I only have one original stop, an f/5.6. This was used as the pattern for Markus Hofstaetter to “3D print” the other stop values.
So what’s the big deal? Well, as you might know, I’m starting a new project about sacred rock formations, culturally modified trees, and special places of the Ute Indians. Their origin story begins at the Garden of the Gods (Colorado Springs). They say they were created there and that they’ve been here since the beginning of time. I’m hoping the work will reflect the beauty and the uniqueness of this (their) land.
I’m also on a technical quest - trying to make the perfect negative and printing for a 19th-century aesthetic. This requires a lot of things, but one of them is the ability to “stop down” the lens. Stopping down the lens (using a smaller aperture) will create a very sharp image with a deep depth of field. That will allow me to exploit the Platinum Palladium printing processes to achieve a look and feel from the 19th-century.
As I’ve said in previous blogs, I’ll be experimenting with some dry plate processes with this project as well. The Albumen on Glass process and the Collodio-Albumen process (dry plates). These processes will be important to use because some of the places will not be accessible and almost impossible to use wet collodion. My biggest concern is aesthetics. I want a dry process that looks right - not like sheet film (silver gelatin) - that’s a big concern for me.
I’m excited to run some f/16 and f/22 test plates with these new stops. Stay tuned!

All six stops. F/4 - F/22

“UFO and Teepees” Ghost Dance 2019
Pyro Redevelopment Or Copper Intensification?
Which is better “Pyro Redevelopment” or “Copper Intensification”? Or, is that even a fair question? For me, both have their advantages and disadvantages. It’s not really a question of whether one is better than the other, it’s a question of what you prefer and how you want to achieve adding density to your wet/dry collodion negatives.
“Pyro Redeveloper”
The “Pyro Redeveloper” is made up of pyrogallic acid, citric acid, and distilled water. Along with that, you add a few drops of silver nitrate. I’ve used from 9% to 20% - it all works well. The idea behind this method is control. For example, for a Whole Plate negative, I’ll start with 60 ml of pyro, citric acid, and DH2O. I’ll add 10 - 20 drops of AgNO3. I’ll start by covering the plate in a weak solution of iodine. This “re-halgonates” the plate or makes it slightly sensitive to light again (think silver iodide). I’ll rinse it in distilled water and expose it to UV light for a minute or so. Next, in low light (no UV light), I’ll pour the 60 ml mixture on and off the plate (back into the beaker). I’ll do this until the solution has turned red - pulling the iodine from the silver. If I’ve gained the density I want, I’ll simply rinse the plate in distilled water and it will be finished. If I want more density, I’ll fill the beaker up again and repeat the process. You have a lot of control over this. It may take five minutes or 30 minutes, depending on how you mix your chemistry and the density you’re trying to achieve. The disadvantage may be handling the pyrogallic acid. And time, you may find this takes too long. The biggest advantage is control. You can achieve exactly what you want for density.
“Copper Intensification”
The “Copper Intensification” process is made up of a bleaching agent and a silver bath. The bleaching agent contains copper sulfate and potassium bromide. You bleach the silver on the negative to a “white” and then you drop it in a 12% - 20% silver nitrate bath. The intensification is immediate and can create super-dense negatives. You can adjust this process and do a mild intensification or really go for it and make a bulletproof (Dmax 5.0) negative. Either way, you don’t have a lot of control, but the process works very well. The cost can be prohibitive; a 12% silver bath can be $125 USD+. The bleaching compounds are not expensive. There are no real dangerous chemicals involved with this - the silver nitrate needs to be handled with care - but there’s nothing like the pyrogallic acid in the previous method.
Stay Tuned
I’m going to run some tests using both methods for my Platinum Palladium and Rawlins Oil prints. I’ll document Dmax and printing quality from each for each printing process. For years, I’ve used the pyro method. I used the copper method quite a bit many years ago. The cost of silver nitrate can be prohibitive, however, if you’re making enough negatives, know what printing works, and need the density for printing, it’s well worth it.


Checking the Dmax on a Wet Collodion Negative.
Checking Density (Dmax/Dmin) On Wet Collodion Negatives

The Wet Collodion Negative - varnished and ready to run some test prints on Platinum Palladium and Rawlins Oil!
The Equation
Dmax: The area with the most density with detail.
Dmin: The area with the least amount of density with detail.
Subtract the Dmin from the Dmax and that is your NEGATIVE DENSITY.
The Print
If you want to maximize the quality of a print, you need to know what the Dmax/Dmin, or density of your negative is - maximum density (with detail), where the most silver is deposited. This is the brightest or highlight area(s). The thinnest part with detail is your Dmin area - approaching the void area or shadow(s). And everything else in between is the middle tones or middle values.
Why is it important? Not every negative will print well on every POP (Printing Out Process) or DOP (Developing Out Process). Some require density in the 2.0+ range - like Salt Paper. And some require less density. If you fail to match the negative with the process, it will never be as good of a print as possible if it were matched up.
In my opinion, you should choose a printing process and make negatives exclusively for that process. I’m not saying you can’t print a “Salt Negative” on Colodio-Chloride paper, you can. What I’m saying is that it will never be as good as a Salt print and vice versus.
My plans for this project are two types of prints. Both are “non-silver” and one is a pigment process. They are Platinum Palladium (mostly Palladium) and Rawlins Oil prints. I’ve made many Rawlins Oil prints and know that good negatives are almost identical to the Platinum Palladium process. The density of 1.50 - 1.80 is perfect. I can get great prints all the way to 2.0.
What happens if you don’t get the proper exposure or development on the negative? What can you do? Rarely are you too dense; I’m not talking about over-exposure, but getting in the density of 2.0+ with a foundation negative, or a negative straight out the camera. Most of the time they will be a bit under the desired density for technical reasons (fogging the shadow areas). If you need more density, you can do that chemically with pyrogallic acid and citric acid plus a bit of silver nitrate. This is called redevelopment and you can take it as far as you desire regarding density. Problem solved.
The Negative
Today, I varnished and prepared my test plate for my first run of the Platinum Palladium process and Rawlins Oil process. I checked the Dmax and found that where the light was hitting the back of the stump, my highlights, with details, ranging from 1.75 to 1.80. And the areas with the thinnest silver (some weeds in the foreground) that still had detail registered as 0.20 - that means if I subtract the Dmin from the Dmax I have a density of 1.59 - or thereabout. This should be a perfect negative for the processes. I’ll soon find out!

Quinn making Wet Collodion Negatives on the Eastern Plains of Colorado for his “Ghost Dance” project. Photo by Jeanne Jacobson 2019
Why I Choose The Old Methods
Every so often people ask me why I choose to work in the 19th-century world of photography. They assume it’s to get attention in the digital world (Facebook and Instagram) we live in. Why would I choose to work in processes that are (somewhat) difficult, (sometimes) dangerous, and very labor-intensive? Processes where the failure rate far outweighs the success rate. Why do this when you have a “high-resolution color camera” in your pocket ( your phone) and can click and slide your way into making “art”? It doesn’t make sense to a lot of people. And I understand why.
The answer isn’t easy but I’ll try to give you a couple of reasons why I do what I do. There's a book that I recommended on my YouTube show a few months ago called, "Zen and the Art of Motorcycle Maintenance" by Robert M. Pirsig. A quote I really like from the book says, “You are never dedicated to something you have complete confidence in. No one is fanatically shouting that the sun is going to rise tomorrow. They know it's going to rise tomorrow. When people are fanatically dedicated to political or religious faiths or any other kinds of dogmas or goals, it's always because these dogmas or goals are in doubt.” That really resonates with me. It’s one of the reasons I keep doing what I do. After 20 years of working in historic processes and almost 40 years in photography, I still doubt, I still fail, I still strive and there is so much I don’t know. It does keep me going. It challenges me. There’s a lot of purpose and meaning for me in what I do.
Another book I recently recommended is called, “Meaning in Life: A Therapist's Guide” by Clara Hill, PhD. She talks about how to find meaning and significance in your life through achievements and failures. Moreover, she clarifies what meaning and significance are; hint, it’s not money or fame. It goes to Ernest Becker’s theories on death anxiety and death denial. He said, "Man cannot endure his own littleness unless he can translate it into meaningfulness on the largest possible level.” (Ernest Becker, The Denial of Death). We are hard-wired to want to live forever and we know we won’t. That creates a big problem. Have you ever heard of someone having an existential crisis? One way to deal with death anxiety (knowing that you are going to die) is finding meaning and significance in your life. I find a lot of that in my work and in the act of creating my work.
Susan Sontag (On Photography, 1977) said, “All photographs are memento mori. To take a photograph is to participate in another person’s (or thing’s) mortality, vulnerability, mutability. Precisely by slicing out this moment and freezing it, all photographs testify to time’s relentless melt.” There are many ways to interpret that quote. First, “memento mori” is the knowledge that you are going to die. Mortality; the state of being subject to death. And knowing that no one or nothing can stop time, we literally march toward death whether we want to or not. Making photographs, and photographs themselves, remind us of this fact. Death reminders are everywhere. I believe the more we deal with our mortality, the more we’ll make of the time we have to be alive. We’ll be motivated to find meaning and significance. I know it works for me.

Henry Peach Robinson, n.d.
Platinum print
Platinum Palladium Chemistry and Recipes
General Information
Negatives: Wet Collodion Process - this is a Thomas Sutton based process - a blend of method #1 and method #2
Format: Whole Plate - 6.5” x 8.5” (16.5 x 21.6cm)
Negative Density Range: 1.5 - 2.0
Paper: Hahnemühle Platinum Rag - with Fumed Silica rolled on dry (CAS 112945-52-5). Fumed silica increases the Dmax or density of the blacks, clarifies tonal range and even “sharpens” the image. And Arches Platine paper - same methodology.
Ferric Oxalate: 27%
27.5ml DH2O at 120F (49C) for mixing FO
8g Ferric Oxalate
0.5g Oxalic Acid
Platinum - Na2: 20%
25ml DH2O at 100F (38C) for mixing PC
5g Potassium Chloroplatinite
Palladium - 15%
25ml DH2O at 100F (38C)
2.3g Palladium Chloride
1.6g Sodium Chloride - Kosher Coarse Salt
Contrast Control - If Needed
27.5ml DH2O at 120F (49C) for mixing FO
8g Ferric Oxalate
0.3g Potassium Chlorate (for Palladium Prints - 0.6g for Platinum)
0.5g Oxalic Acid
(1 - 2 drops of 5% Gold Chloride can boost contrast but will cool the print in color)
Potassium Oxalate - Developer 30%
300g Potassium Oxalate
1L DH2O
(warm the solution to 120F (49C) for warmer tones)
Clearing Bath(s)
Bath #1 - 10 minutes:
30g EDTA Disodium - 3% (lower pH)
20g Sodium Sulfite - 2%
1L Water
Bath #2- 10 minutes:
30g EDTA Tetrasodium - 3% (higher pH)
20g Sodium Sulfite - 2%
1L Water
Bath #3- 10 minutes:
30g EDTA Tetrasodium - 3% (higher pH)
20g Sodium Sulfite - 2%
1L Water
Final Wash
Running Water - 30 minutes
Drop Chart for Whole Plate Negatives
14 drops Ferric Oxalate
14 drops Palladium
3 drops Platinum
2 drops Contrast Control (will vary negative to negative)
1-2 drop(s) Tween 20 - 10%
1 - 2 drop(s) of Hydrogen Peroxide (if needed for fogging)
Waxing or Gelatinzing Prints
I will also experiment with waxing these prints with beeswax and lavender oil. The traditional 19th-century method. I’ll also experiment with a 5% gelatin coating on the prints too. Renaissance Wax is a brand of microcrystalline wax polish used in antique restoration and museum conservation around the world. I’ve used a lot of this on Salt prints in the past and I use it on my knives (bladesmithing) as well. I will also test gum arabic and albumen.